
Well, I've been wearing mine for a couple of days and they are SO comfortable. Great for summer, but not so sure they would keep your feet cosy and toasty in the winter months.....
The hardest thing about making them is finding the gripper stop for the soles. I managed to find some on ebay earlier this year so bought a full meter - I like making and giving slippers!
You will need:
Outer fabric. I used Clarke and Clarke 100% curtain weight cotton (ie washable!)
Inner fabric. Fleece
Sole fabric. Jiffy Grip. Please don't try to use anything else. You'll end up slipping and could seriously hurt yourself
Bias binding. 2cm wide and a full board. Or if you are making it yourself, approx 2.5meters
Matching Thread
Any decoration you want to add - bows, bling, flowers etc, etc.
I used an old 1960s lingerie book for my pattern, but basically you draw around your foot for the sole and use a shaped rectangle for the top. Don't forget to add 1cm seam allowance
Cut out rectangles of your fabric as follows: one left foot and one right foot (doh!) from sole fabric, outer fabric and inner fabric.
Cut out slipper tops from outer fabric twice for each foot and fleece once for each foot.
Layer each piece and you will end up with something like this:

Next you stitch all the layers together within your 1cm seam allowance. If you have a walking foot use it as the layers can shift - look they did on my top piece. You can see it is only small (top right) and will be hidden later.

Next you need to add bias binding to the upper and lower edges of the top pieces
 |
| Had to include a picture of Betty as she has been such a trooper for these last two projects! |
 |
| Adding the bias binding |
Once the binding pieces are added, turn to the wrong side and stitch in the ditch to secure.
 |
| Stitch in the ditch |
Once you have done that, pin the upper pieces to the soles. I don't tack them in place but you can if you want to ensure they don't move once you get to the next step.
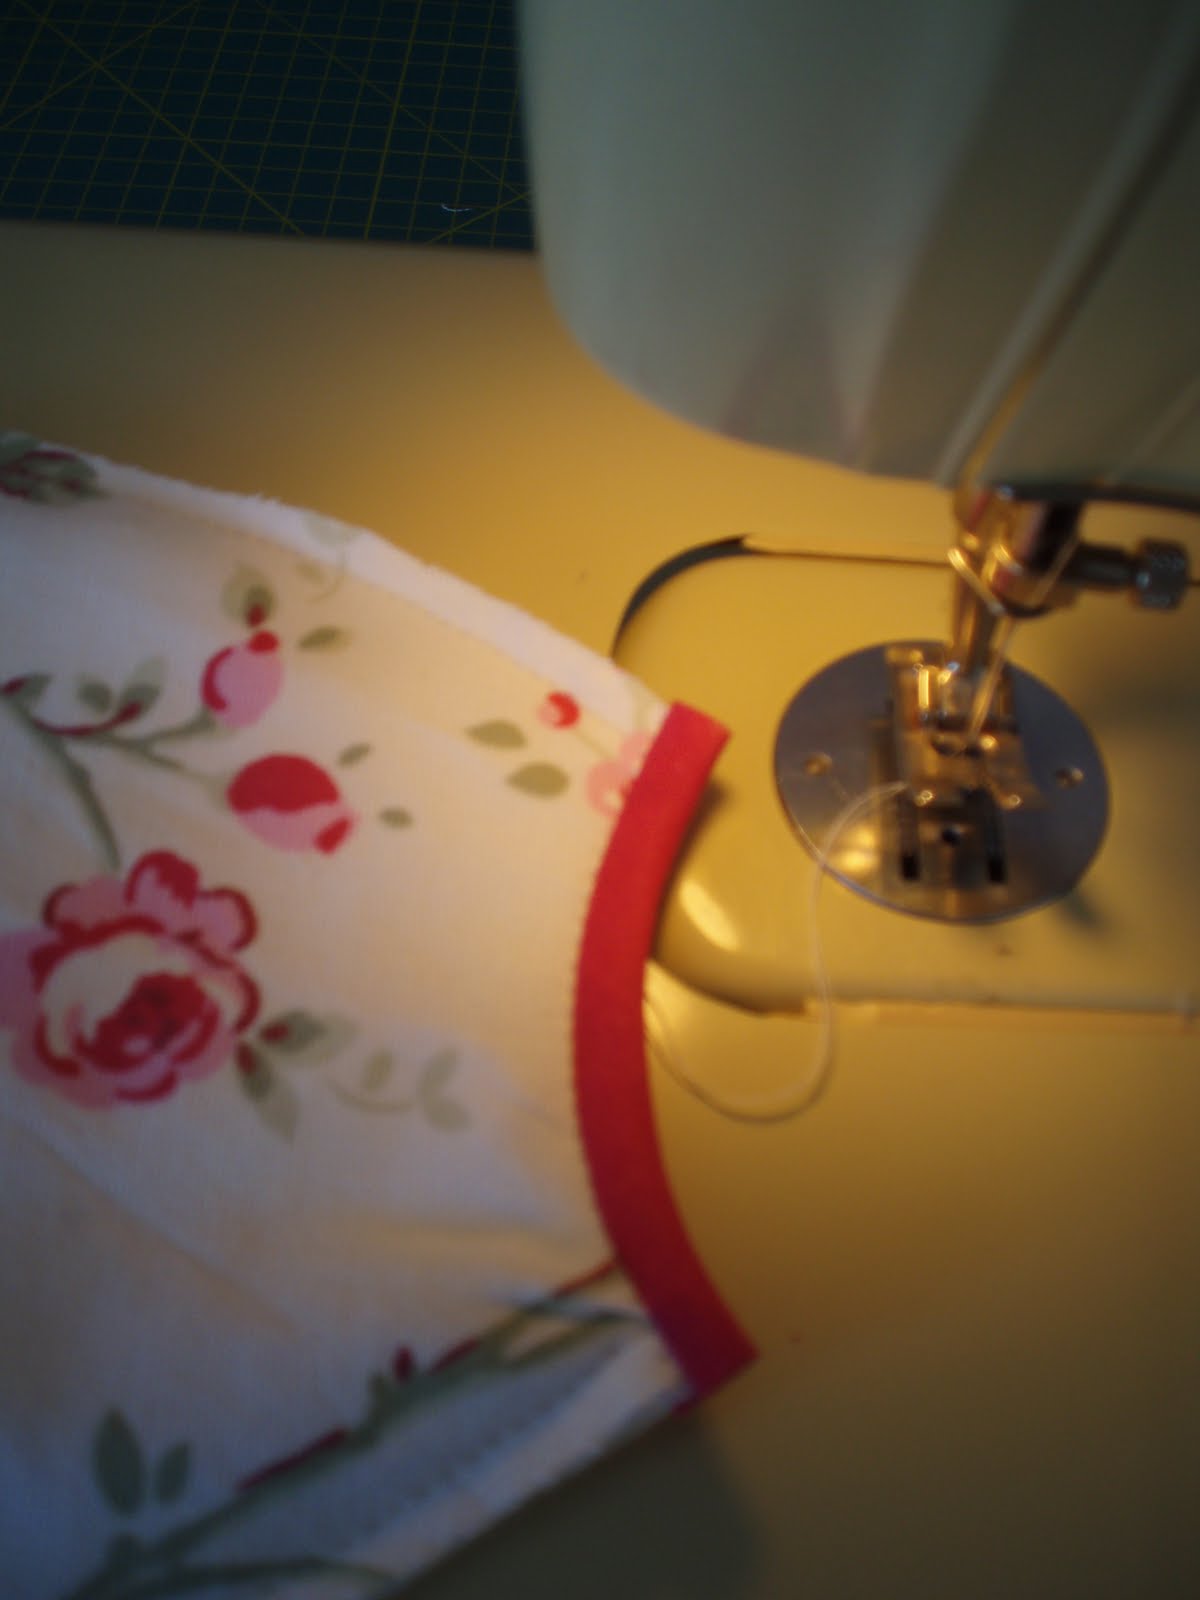
The final stage (yes we are there already!) is to pin bias binding around the outer edge. It's a good idea to start and finish the binding on the inside edge and I fold over a little bit for extra neatness.
Stitch it in place and fold over to the bottom. You may need to trim back your seam allowances at this stage as you have 6 layers of fabric at the sides. You can either stitch in the ditch, or hand sew the binding to the bottom edge. I like to hand sew mine - horses for courses.....

And you're done. Just add any embellishment. Easy Peasy Lemon Squeezy!
5 comments:
Woow!!!
I love these slippers ^_^
I would try to make a pair for my mom!
http://alicecloset-sewing.blogspot.com/
Very pretty! What a great idea - these would make perfect gifts.
They are cute. Love the color and pattern of bias.
Hugs
Eilane - Brazil
Thanks for the tutorial. I'm going to make some sparkly fancy dress shoes for my daughter :)
Stitching the spa slippers is a great idea. We can stick it with our taste. Thank you for sharing this excellent information.
Post a Comment